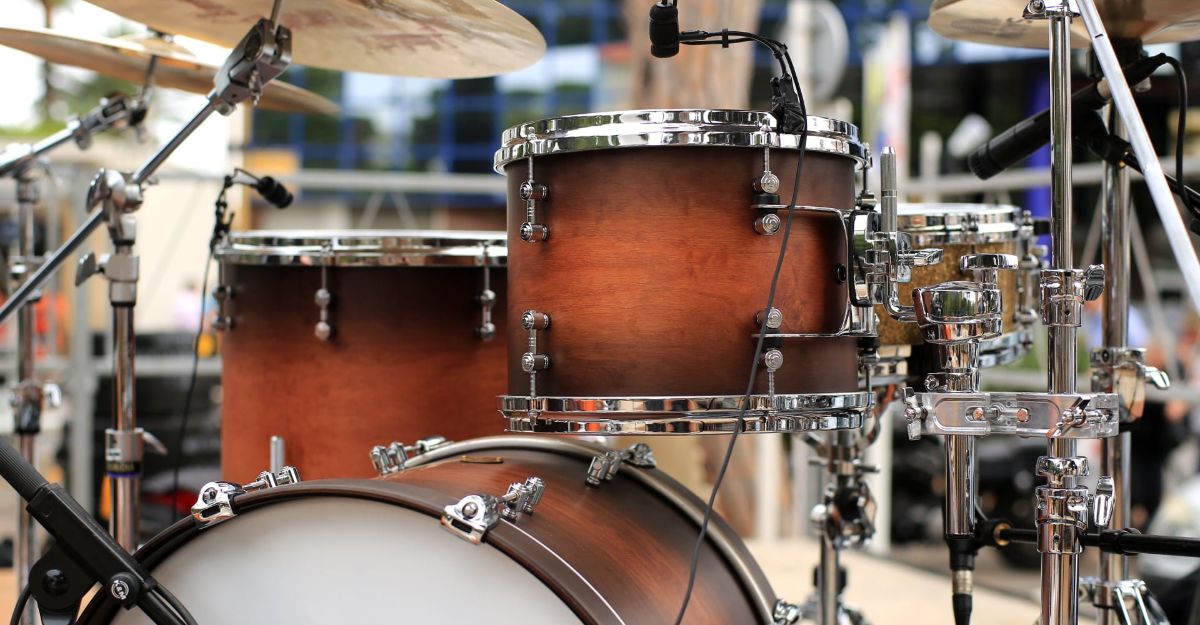
Unboxing a brand new set of drums is mesmerizing. The flawless color finish, the pristine chrome hardware, and the untouched skins look so inviting to play.
But it’s time you learned how to clean a drum set because, over time, drums will naturally collect plenty of dirt, moisture, and fingerprints.
You will want to make sure your drums look and sound great for years to come. In this article, I will explain how to clean a drum set and perform maintenance so that it lasts as long as intended.
Drum aftercare is not particularly difficult, but developing a routine for aftercare is essential so your new drums and cymbals will be kept in excellent condition.
Once a year is a great time to perform a full drum set maintenance by cleaning your drums properly. This will require replacing all the batter heads with brand-new skins to keep them sounding as good as new. The resonant drum skins will also require replacing but not as frequently; I would advise every 2 or 3 years. Read on to learn how to clean a drum set!
How to Perform Drum Set Maintenance
1) Remove the Batter and Resonant Drumheads
Working your way around the drums clockwise, loosen the tuning rods with one full rotation of the drum key. It is important to loosen the lugs in pairs from opposite ends of the drum to provide even distribution across the hoop and the shell.
Once both skins on each drum are removed, ensure you keep all the tuning rods together so as not to lose any loose parts.
2) Gently Wipe Down the Exterior and Interior of the Drum Shells
Don’t forget to go in between the lugs to remove fingerprints, dust, and any grime. I recommend using lemon oil and a soft, clean cloth, but it is also okay to use wood polish. Avoid using abrasive cleaners or any harsh cleaning agents for drum shells.
3) Clean the Bearing Edges on the Drums
The bearing edge is hugely responsible for the sound of the drum because it transmits the drum skin’s vibration to the drum’s shell. The manufacturer precisely cuts the bearing edge to the desired angle to obtain a good sound for a drum.
The bearing edges collect dust and debris over time, and this has an impact on the sound and performance of the drum. When learning How To Clean A Drum Set, very gently rub down the bearing edges with a soft, oiled cloth and then apply a generous application of Vaseline to smoothen the edges.
4) Clean the Shell Hardware to a Mirror Shine
Polish the chrome hoops with a cloth and some chrome cleaner or metal polish to remove marks and any light surface grit. Use some wire wool to remove the blemishes if the hoops are very dirty or there are rust spots.
After buffing the hoops, the next step is to dip the tips of the tuning rods lightly in Vaseline petroleum jelly. This will lubricate them and ensure they will remain slick inside the lugs.
5) Reskin the Drums with Brand New Heads
Now that the shells, bearing edges, and drum hardware have all been cleaned, it’s time to apply the brand-new drum heads onto the drums and tune them to your desired pitch.
Firstly, tighten the tuning rods into the lugs across the drum to a ‘finger tight’ level. Now go across the lugs with a drum key to one full rotation until the drums are tuned correctly.
6) Lastly, Polish Your Cymbals with a Cymbal Cleaning Solution
Cymbals are an easy part of the drum set to clean, and this cleaning process can be performed as frequently as every month if so desired. Firstly, place the cymbal on a towel on the floor and evenly spray on the cymbal cleaner solution.
Whilst wearing gloves, buff the cymbal in a circular motion with a cloth until a mirror-shiny finish has been achieved. It is important not to apply too much pressure on the cymbal with the cloth to prevent any warping or damage. Repeat the process for the other side of the cymbal.


