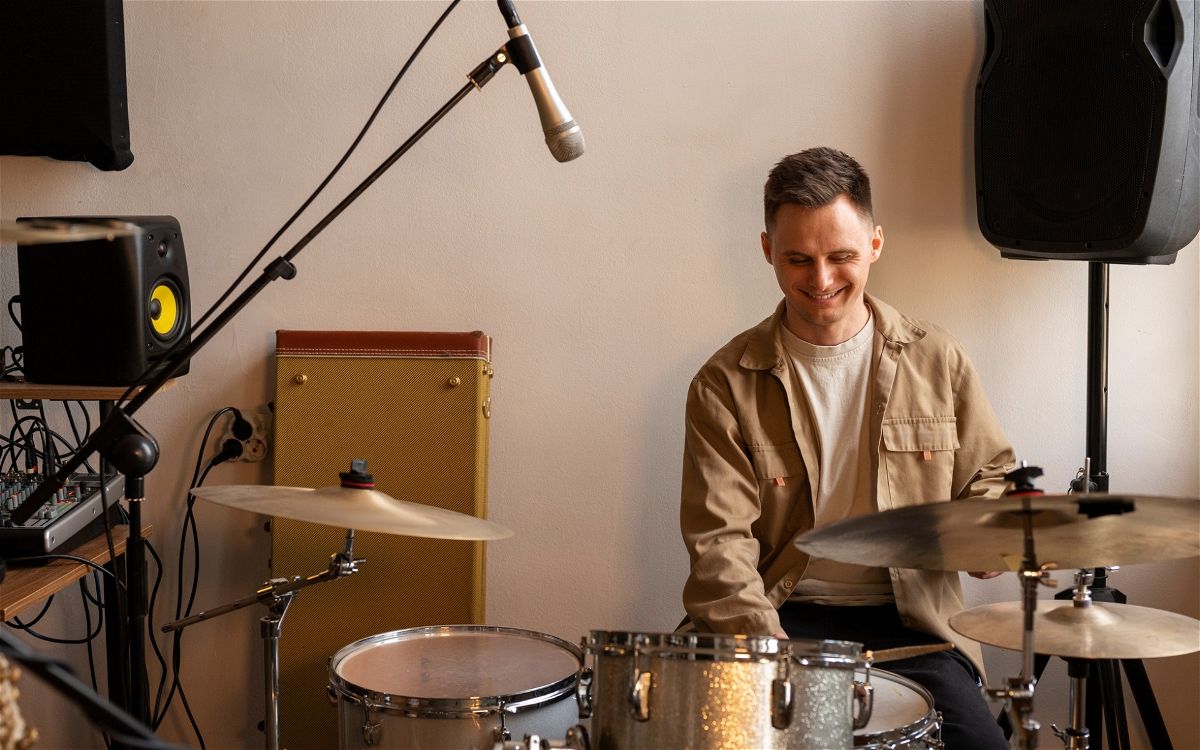
Drum kits are one of the hardest instruments to mic, considering that they have so many different components to capture. With several drums and cymbals in a setup, you typically need multiple microphones to pick all the sounds up.
However, you can get a really decent drum sound with only one microphone. It just takes a bit more work to get it in the right position to offer dense and powerful recordings.
In this guide, I’ll show you a few techniques that I’ve learned over the years, and I’ll offer a few tips on getting the best drum mix possible with a minimal setup.
Contents
What Kind of Microphone Do You Need?
I highly recommend using a single condenser microphone for this situation. It should have an omnidirectional pickup pattern, meaning it picks up a large area of sound around where it’s positioned.
If you use a dynamic mic to mic drums, it will only capture the sound from whatever it’s directly pointed at, and that will leave you with quite a thin overall mix. You’ll hear one piece of your drum kit a lot louder and clearer than everything around it.
So, overhead microphones are always a better option when looking at a single microphone setup and getting a great drum sound.
Recording Drums with a Single Microphone
Placement is everything when you only have one mic to use. You have to make sure that your microphone is in an ideal position to capture as much as possible from the kit.
Here are three positioning methods that I’ve found work incredibly well for acoustic drums:
Above the Kick
For this method, you’ll position the microphone above the kick drum, meaning the sounds will be picked up from the top and bottom.
This technique only really works if you’re using one rack tom and not two, as a second rack tom will get in the way.
Make sure to place the microphone so that the tip is in line with your bass drum beater. You then need to put it at a height that allows it to pick up the depth of your bass drum tones and the high-end shimmers of your cymbals.
I’ve found that having it just slightly lower than your top rack tom drum head works well.
With this mic being so close to your bass drum pedal, just make sure that there’s no squeaking, as that will come through quite clearly.
In Front of the Kit
The next technique is to place your microphone three to five feet in front of your entire kit. You’ll point the microphone to the ceiling, so it’s okay if you have a mic that only picks up sound from one side.
The lower you position the mic, the fatter your mix will sound. You’ll get more low-end from your toms and bass drum. As you raise the microphone higher, you’ll get more high-end from the cymbals.
So, move it up and down until you find a spot that you like. I’d recommend just keeping it somewhere in the middle, as that gives you the most balance.
However, some drum recordings call for having beefier or thinner sounds, so it’s good to know that you can just raise or lower the mic to change that.
Above the Snare
The final method is to raise the microphone high above the kit and place it directly above the snare drum. This will give you more of a drummer’s perspective in your mix, and it will blend the drums and cymbals together quite well.
I’ve seen a lot of jazz drummers using this kind of setup, as it makes the kit sound quite natural.
Just make sure that you have the microphone raised high enough so that you don’t accidentally hit it when you lift your arms to play.
Four or five feet above the snare drum tends to work, but you just need to position it based on your personal playing style.
Yamaha EAD10
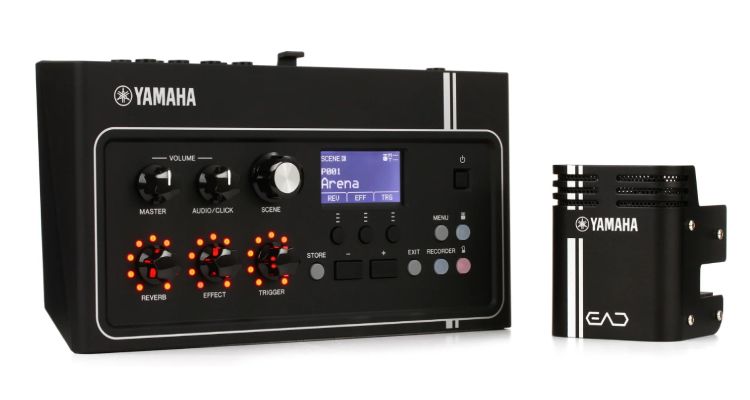
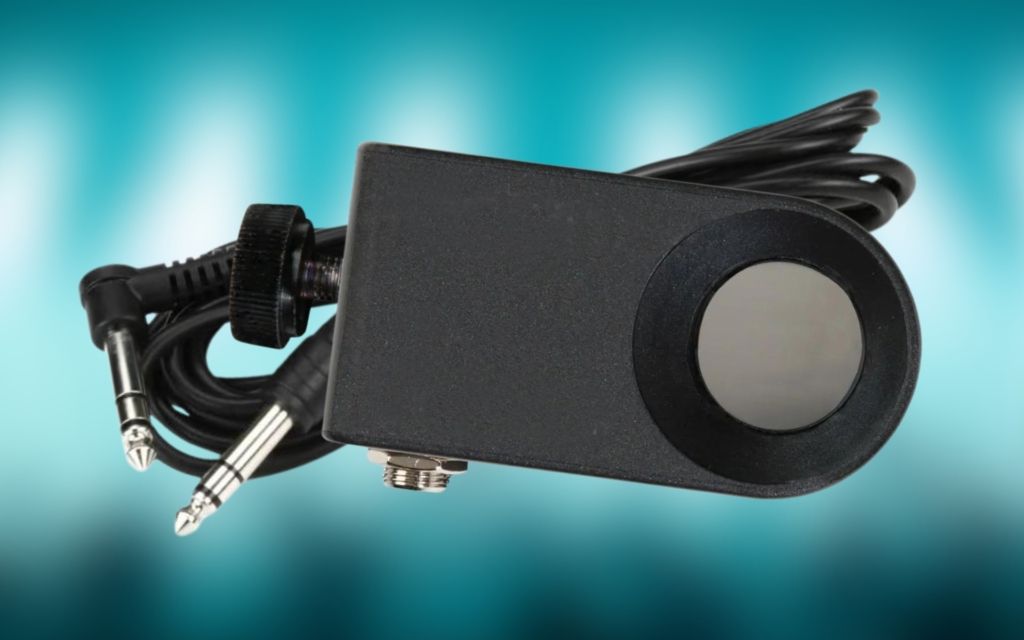
Another great way of recording drums with only one microphone is to use the Yamaha EAD10. This is an incredible piece of gear from Yamaha that combines a drum module and a small condenser microphone.
You clip the mic onto your bass drum. It connects to the module, and then you run the module through to a DAW.
I love how easy the EAD10 is to use, and I highly recommend it to drummers who are new to doing drum recordings. It takes a lot of the guesswork out of things.
However, the drum sounds are quite compressed, so you don’t get as much control as you do when using a traditional condenser microphone.
Benefits of Using One Microphone
While using a single microphone on your drum kit isn’t ideal, there are plenty of benefits. I’ve even had scenarios where I’ve chosen to only use one mic, even though I had dozens at my disposal.
No Phase Issues
When you use multiple microphones around a drum kit, you have the risk of microphones being out of phase. This basically means that they’re out of sync, and you need to carefully place them so that they pick up the drum sounds at the exact same rate.
When only using one mic, you don’t get this issue at all. The risk is non-existent, and you just need to focus on placing the mic to get the best sound.
Having phase issues is always very frustrating, so I love how a single microphone setup completely eliminates the possibility.
Natural Sounds
The more microphones you use on a drum kit, the more processed things start to sound. This is especially true with dynamic microphones that you place on each drum.
With only one microphone, you basically get a recreation of what you hear in the room. Natural sounding drum mixes are always a breath of fresh air compared to highly processed ones.
You’ll often see drummers that play styles like jazz and indie rock use only one or two microphones for this reason.
Great Mix Balance
Along with having no phase issues, you also don’t need to worry about balancing microphones and their levels.
You have so much control over a single microphone, and you just need to focus on how you place it.
When you use multiple mics, you need to spend a lot of time making sure that they’re all positioned in a way that offers a balanced mix.
I’ve had plenty of situations where I’ve had to completely shift around seven microphones to get a better balance in my mix. It takes a lot of time and effort, along with plenty of trial and error.
Moving around a single microphone is so much easier.
Tips for Mixing with One Microphone
Perfect the Sound in the Room First
The best thing you can do to make this whole process easier is to ensure that your drums sound great first.
Before you work with a microphone, make sure that your drums are tuned perfectly and that you’re using high-quality cymbals with musical tones.
When you use several microphones, it’s a lot easier to mask bad tuning. With only one mic, your drum sounds are going to come out very clearly. If they’re bad, there won’t be too much that you can do about it.
So, place some high-end drum heads on the kit, and spend quite a bit of time tuning the drums as best you can.
Be Articulate with Your Mic Placement
You also need to be very accurate in how you place your mic. A subtle distance change will make a world of difference, so positioning is the next important step.
All the techniques I mentioned above will work well, but you also need to apply them in context with how your drum set is set up.
I’d recommend experimenting as much as you can until you find the exact placement that offers the best overall drum kit sound.
Once you have that, your goal will be to recreate it every time you set your drum kit up again.
Mix According to What You Hear
Finally, you should mix the drums depending on what you’re hearing in the room and through the mix.
If your drums are sounding quite heavy on the low-end but you’ve placed your microphone appropriately, you can then go into your EQ and tweak a few things.
Just make sure that you’ve tuned your drums and perfected your microphone positioning first.
Conclusion
Trial and error is key to getting a great drum kit mix, especially when you’re only using one microphone.
It also helps to have a fairly high-quality condenser to use. The problem with lower-quality options is that they make your mix sound quite boxy.
To get a clear and concise overall sound, you’re going to have to spend around $300 or $400 on a good omnidirectional microphone.
With that said, I’ve also seen some studio gurus getting a clean mix with just a Shure SM57. It’s not impossible. It’s just not easy.
Take all the tips and tricks that I mentioned and use them to start recording with some great tones!