Double bass drumming is exciting, and it opens up a new range of playing possibilities such as new grooves, fills, and rhythms that can’t be achieved with a single pedal alone.
A double pedal may seem complex, but setting up a double bass pedal for your drum kit is fairly straightforward and with the right tools you can have it ready to go in no time.
Read on to learn how to assemble a double pedal, attach it to your drum set, and make adjustments for optimal playability.
Contents
- Choosing a Double Pedal
- Double Pedal Stock Check
- Step-by-Step Guide To Assembling a Double Bass Pedal
- 1: Connect the Master to the Slave Pedal
- 2: Adjust the Beaters
- 3: Connect the Master Pedal to the Bass Drum
- 4: Position the Slave Pedal Beside the Hi Hat Stand
- 5: Adjust the Spring Tension
- 6: Fine Tune to Your Preferences
- Conclusion
- Double Pedal Setup FAQs
Choosing a Double Pedal
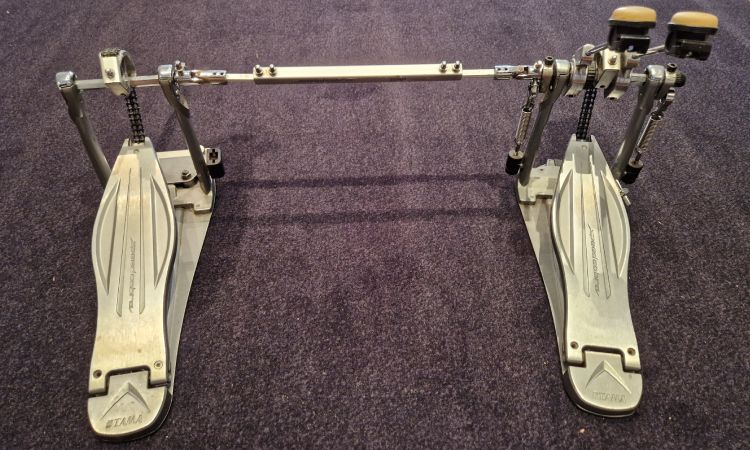
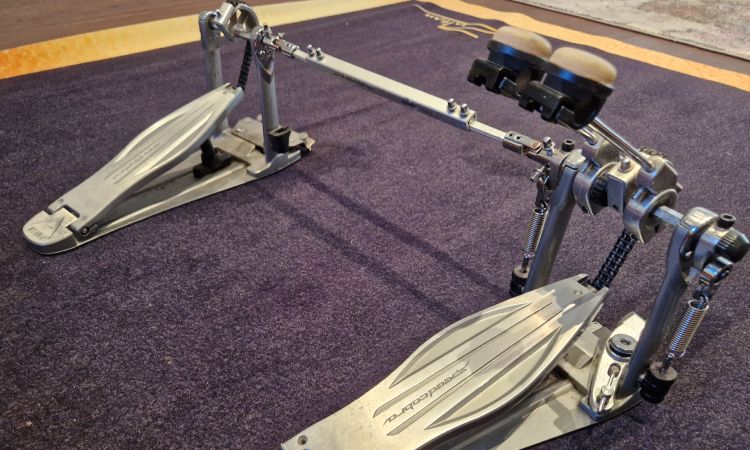
A double bass pedal consists of two pedalboards (a master pedal and a slave pedal) connected by a linkage system.
If you’re reading this, the likelihood is you’ll already own a double pedal. But if not, I’ve put together a helpful article (and a video) with my top picks of the best double bass pedals on the market, including chain-drive and direct-drive options.
All double pedals have a slightly different playing feel from one another, due to the different designs and components used, as well as the type of pedal drive used and beaters. So do your research!
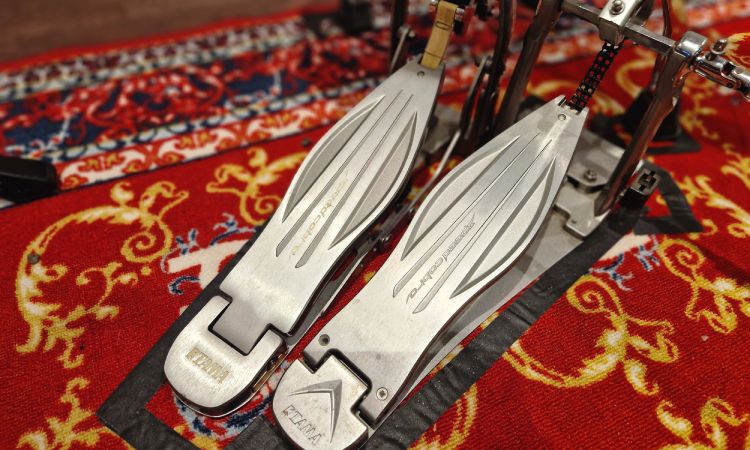
My double pedal of choice is the Tama Speed Cobra 910. I’ve tested many pedals, and I believe this pedal offers the ultimate balance of power, feel, durability, adjustability, and value.
Double Pedal Stock Check
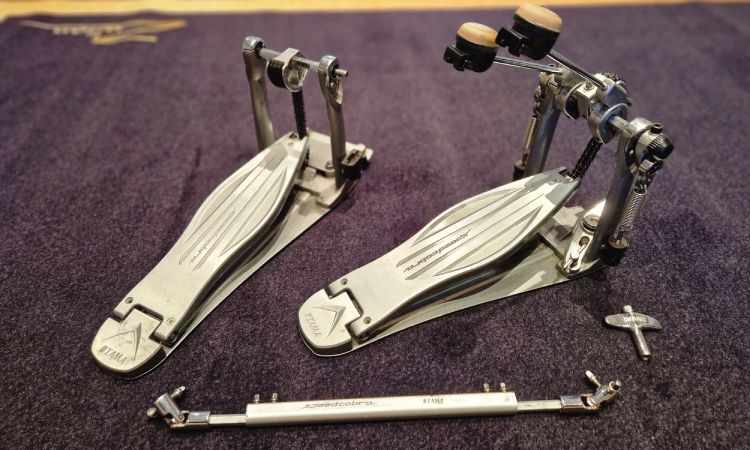
When you purchase a double pedal, it will include the following components you’ll need to assemble it:
- A master pedal
- A slave pedal
- A linkage bar (drive shaft)
- Two beaters
- A drum key
Ensure you have a drum key on hand to make adjustments, as well as Allen keys and a Phillips screwdriver which may also be helpful for more technical customizations.
Step-by-Step Guide To Assembling a Double Bass Pedal
Now you have all the components ready, it’s time so set up your pedal.
We’re going to start off by attaching the pedal units together, and it’s best to do this before taking it over to the drum kit.
It’s worth noting that each drummer has their own preferences when it comes to a double pedal setup.
Following my instructions will give you a good foundation, but I’d suggest experimenting and making adjustments with things like beater height and spring tension to suit you best.
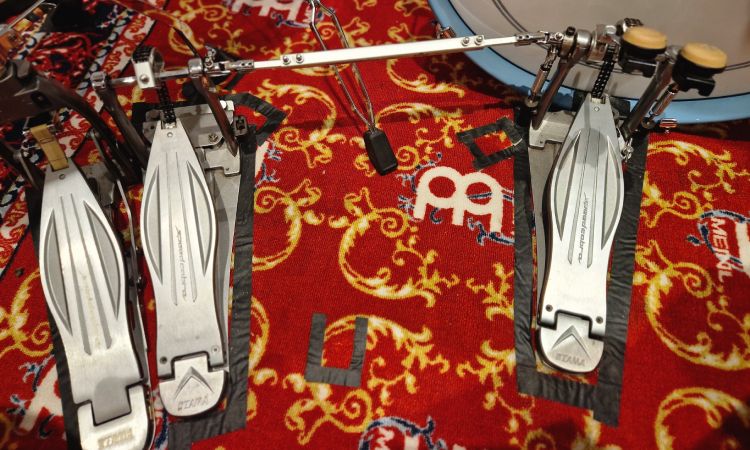
1: Connect the Master to the Slave Pedal
The master pedal is the pedal that accommodates both pedal beaters, as well as the springs. The master pedal is the pedal that attaches to the bass drum via a clamp.
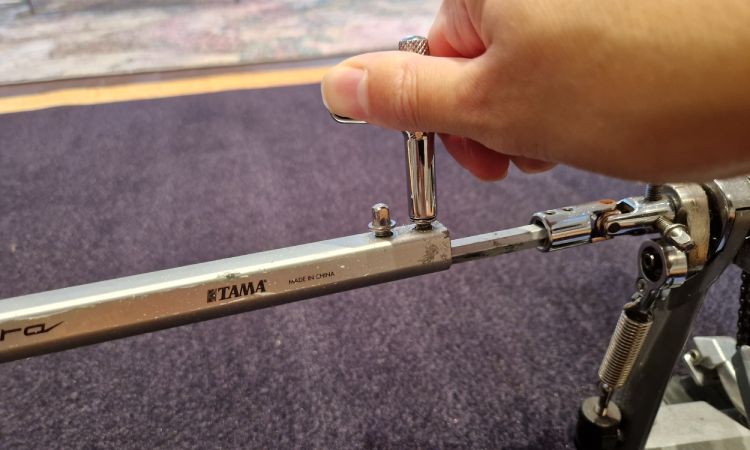
In order to connect both the pedals, you’ll use a drive shaft, or linkage bar, which typically has four screws that you will use a drum key to lock them into place.
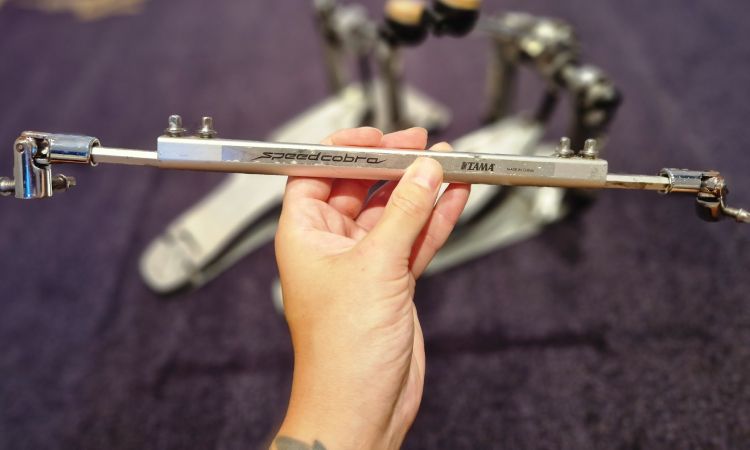
These screws will connect the pedals at each end to one another, and will also allow you to adjust the length of the linkage bar for optimal playing comfort.
You’ll need to set up the linkage bar so the screws are facing upwards. Ensure to tighten the screws with the drum key so that they won’t loosen while you play the kick drum.
You can use your hand to push down on each pedal to ensure there is a smooth operation from both the master and slave pedals.
2: Adjust the Beaters
If your pedal beaters are not already both installed in the master pedal, you’ll need to attach them now using your drum key.
It is crucial that both beaters are matched to the same height and distance apart from the bass drum head to ensure consistent performance.
I recommend adjusting the height of the beaters so that they hit as close to the center of the bass drum as possible. This will help to improve the tone produced from the drum as well as offer a good rebound that feels better to play.
I choose to use a higher setting for the beater height, as it provides more range of motion and produces better and more powerful sound and I prefer how it feels.
In order to adjust the beater height, simply use your drum key to unscrew the locking screw and raise or lower the beater before locking the screw in tightly again with the drum key.
Some beaters often have two usable sides (like DW pedals have), so you can also adjust the beaters to either a felt or plastic side to suit your playing preference.
3: Connect the Master Pedal to the Bass Drum
Once your double bass pedal is assembled, you’ll need to attach it to your bass drum with the bass clamp mechanism that is a feature within the pedal board.
Before attaching it to the bass drum hoop, you’ll first need to carry the pedal unit over to the drum set and position the master pedal in front of the bass drum.
Every bass drum pedal has a clamp that lets you attach it to the hoop of the bass drum. This clamp is found on the master pedal. You tighten it with either a bolt that is tightened with your fingers or a drum key.
Each bass drum pedal has a different clamp mechanism design, but they are all pretty straightforward to use.
Ensure the pedal is connected securely, but just don’t over tighten the clamp whilst attaching it to the bass drum, as you can damage the wood on the bass drum hoop by leaving marks or scratches.
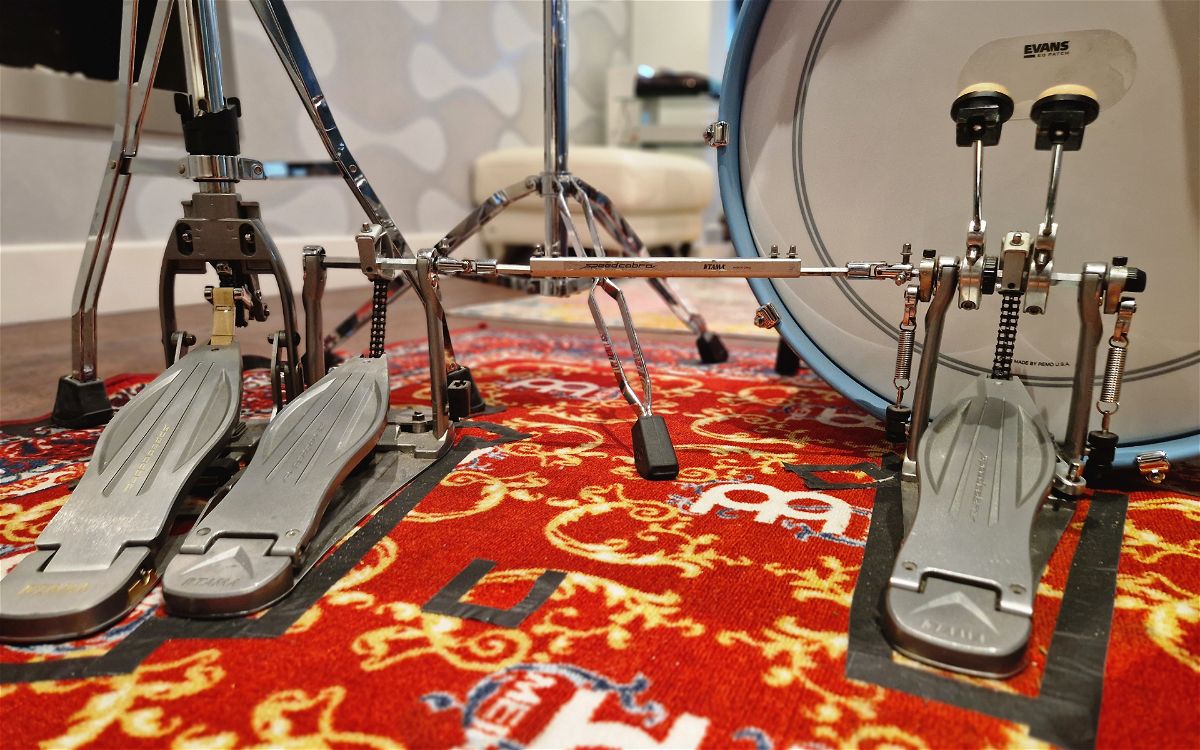
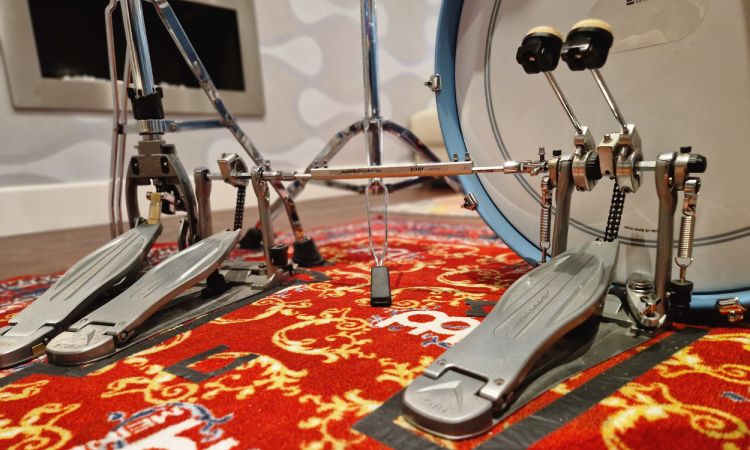
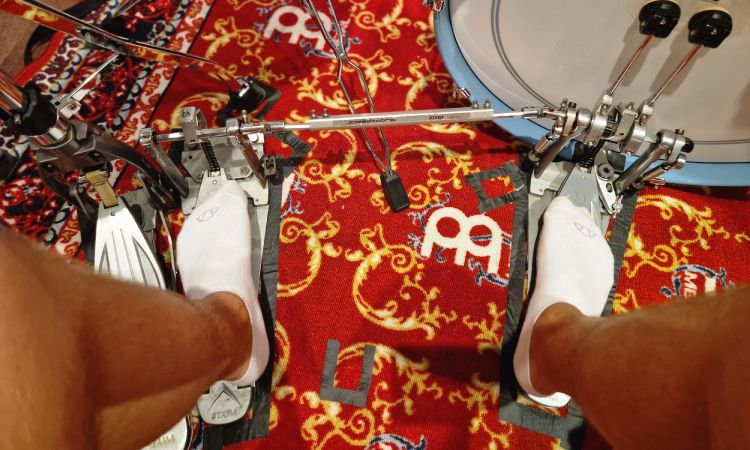
4: Position the Slave Pedal Beside the Hi Hat Stand
Many drummers struggle with finding a comfortable position for the slave pedal in a drum set.
For many years now I have been using a two-legged hi-hat stand in order to overcome this issue.
In order to comfortably position the slave pedal, you’ll want it as close beside the hi-hat pedal as possible in order to make comfortable transitions with your foot whilst playing.
If your hi-hat stand has three legs, try to rotate them to create more space for the slave pedal.
If they cannot rotate and you want to be playing with a double pedal often, then I’d suggest investing in a two-legged hi-hat stand.
If you need to adjust the length or distance between the master and slave pedal simply use the drum key to make any changes.
I’d suggest not to position the master and slave pedals too close together, otherwise you’ll find your left leg will hit the snare drum whilst you play.
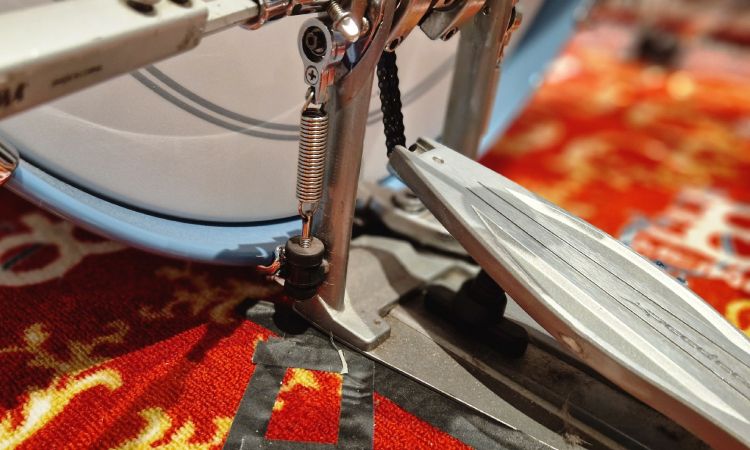
5: Adjust the Spring Tension
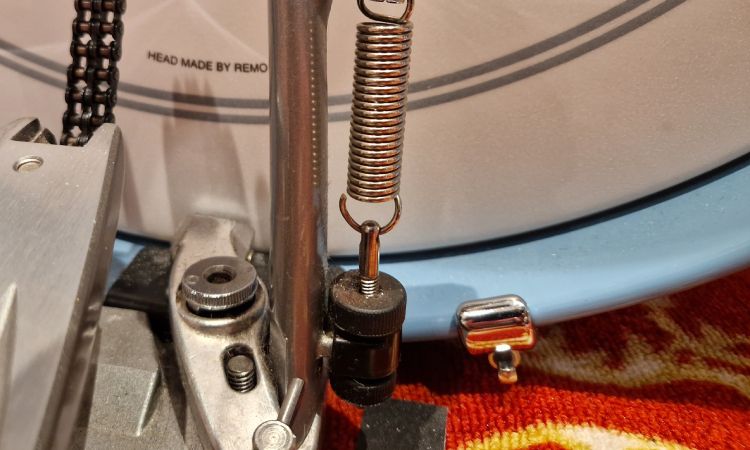
Now your pedals are all set up, you’re almost ready to go! The last steps will involve fine tuning and tweaking the settings so that they are geared perfectly for your tastes.
The double bass pedal will likely come pre-assembled with some tension on the springs. You can adjust this tension to make the action feel either slacker or tighter depending on what you like.
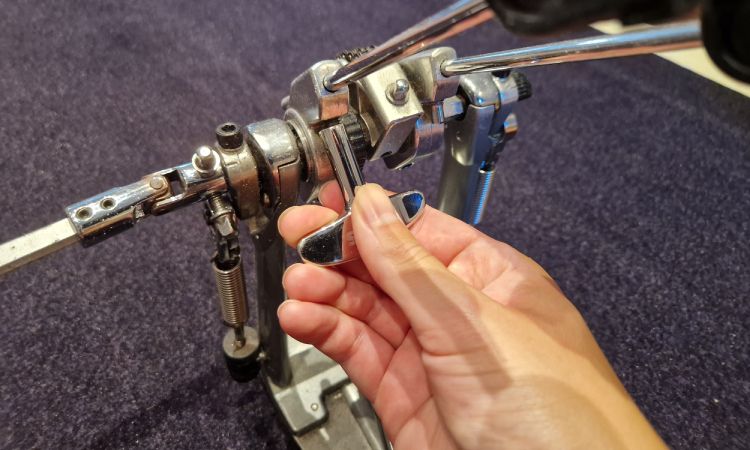
Most pedals have a similar mechanism for adjusting spring tension. To tighten the springs, you’ll need to loosen a nut at the base of the spring assembly and then pull down on the spring and twist it right before tightening the nut again once you have made adjustments.
When making adjustments, always match the spring tensions equally for both the slave pedal and master pedal to ensure consistent performance.
Some drummers prefer a looser feeling pedal whilst others like a lot of resistance and rebound. It’s worth experimenting to find what works best for you.
6: Fine Tune to Your Preferences
Beyond the factory settings, there are often many more adjustments you can make depending on the type of pedal you have. These include:
Cam Angle Adjustment:
The cam is a crucial component of the pedal that directly affects the feel, response, and overall performance of a pedal. It is a metal or plastic disc underneath the chain on the bass drum pedal.
The shape and angle of the cam provides a unique range of motion for the pedal beater and the feel and response the pedal has once your foot presses down on it.
By changing the cam’s position or swapping it with a different type, drummers can fine-tune the way their pedal feels, whether you prefer an accelerating amount of power, or a smooth range of motion.
Beater and Footboard Angle Adjustment
You can not only adjust the height, but also the angle of the beater, also known as the stroke distance of the pedal beater.
This is done so that you can position how far away the beater is from the bass drum head, and therefore change the distance the beater has to travel when your foot presses down on the pedal.
This is important because it will dramatically affect the velocity of the bass drum strikes.
The stroke length also determines the angle of the footboard. The lower the footboard is to the ground, the closer the beaters will be to the skin of the kick drum, and vice versa.
Conclusion
By following this guide, you’ll now be able to properly set up and adjust your double bass pedal for optimal playing performance and comfort.
Don’t be afraid to experiment with different configurations and settings when it comes to the cam angles, beater height, spring tension, etc.
And just remember to make equal adjustments for both your pedals otherwise they’ll have mis-matched settings and this is far from ideal.
Lastly, just be sure to look after and care for your double pedals. This includes regularly wiping down the pedalboards with a dry cloth to remove dust and debris, checking screws and bolts for tightness, and lubricating moving parts.
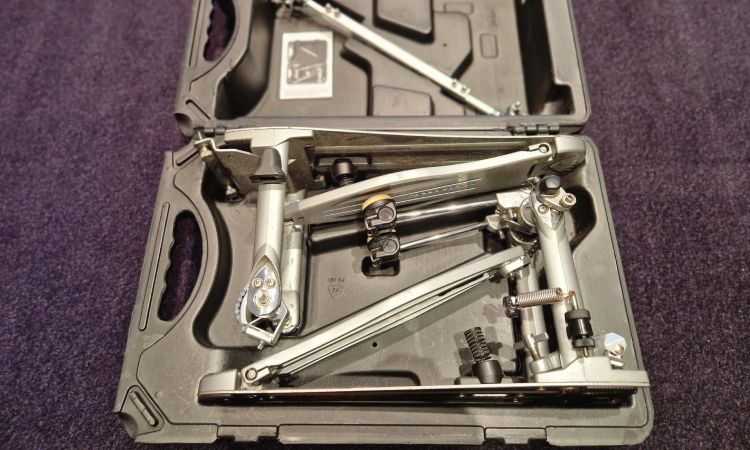
Also always keep your pedals securely packed away in a hard-shell or soft-shell case when in storage or when transporting them.
Double Pedal Setup FAQs
How should I care for and maintain my double bass pedal?
Proper care and maintenance will prolong the lifespan and performance of your double bass pedal. Regularly clean the pedal and wipe away any dirt or debris from the footboards, linkage system, base plate, and other moving parts.
You’ll need to regularly lubricate the pedal’s pivot points and bearings otherwise they’ll become dry and make noises and become sluggish. Additionally, store your pedal in its case when not in use to prevent rust and damage.
How do I stop my double pedal from moving?
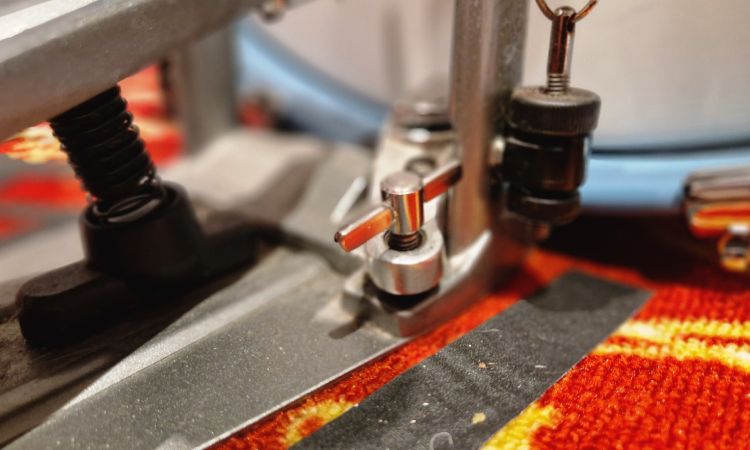
To prevent your double kick pedal from moving while playing, you’ll need to use a quality non-slip drum rug and you’ll need to secure the base of the pedal boards with the included adjustable spikes.
Most pedals have adjustable spikes on the slave pedal that can be extended or repositioned to provide better grip on the floor. Ensure these are properly adjusted and tightened to prevent the pedal from sliding.