As a drummer, you’ll know just how loud the drums can be while practicing at home. You’ll also be aware of how quickly the noise can travel and disturb others whilst you’re trying to play.
There are a lot of drummers out there that want to know how to soundproof their drum room, and this is something that can be achieved if you know how to go about it correctly and have the knowledge and the equipment required.
There are various measures you can take to soundproof your drum room to some degree, and this will help you to be a considerate drummer and help keep the peace with your neighbors.
In this article, we’ll show you various methods and techniques you can use to soundproof a room for drums so that you can practice and play to your heart’s content! Read on to learn more.
Contents
How Loud is an Acoustic Drum Kit?
We all know that acoustic drums create a lot of noise. Depending on the type of drums, the size of the room, and how hard the drummer is hitting the drums, a drum set can be anywhere from 85 to 120 dB, which is very loud.
Drum noise levels are comparable to a pneumatic drill or a fire alarm. That’s why it’s important for drummers to consider taking some measures to reduce noise from their practice space to stop noise from traveling and disturbing others.
How to Soundproof a Room for Drums
There are several good reasons why you might want to soundproof your drum room, and these include:
- Preventing the noise from traveling and disturbing your neighbors or other people in your home.
- To create a better practice environment for yourself so that you can play drums more frequently and concentrate on your playing without the worry of disturbing others.
- To improve the acoustics in your drum room and make it sound better when you’re playing either alone or with a band.
- To make recording easier without the worry of any external noise or disruptions if you want to record your drums at home.
Whatever your reasons are for wanting to soundproof your drum room, it’s important to know how to go about it so that you can achieve the best results.
There are different methods you can use to reduce the volume of the drums in your practice space, and the most effective way to do this will depend on the type of room you have, your budget, and the level of soundproofing you need.
When it comes to treating a room, there are two main methods: soundproofing and sound absorption. Understanding the difference between them is crucial.
Types of Soundproofing
Soundproofing is the process of using materials and methods to stop sound from entering or leaving a room, whereas sound absorption is the process of using materials to soak up sound and prevent it from bouncing around the room.
Ideally, you want to do both if you want to achieve the best possible results when soundproofing your drum room.
Sound Absorption
This type of soundproofing involves using materials that absorb sound waves and prevent them from bouncing around the room.
This is essentially sound dampening and is the most common and easiest type of soundproofing, and it involves using inexpensive materials such as acoustic panels, soundproofing foam, rugs, and heavy curtains.
Installing acoustic foam panels and adding thick curtains does not completely soundproof a room, but it helps to absorb the sound because it adds mass and reduces the sound vibrations that travel throughout the room.
Soundproofing
Soundproofing is the process of preventing noise from traveling through walls, ceilings, windows, and other openings. It is accomplished by using materials that will create a barrier between the sound and the outside world.
Sound travels through air particles, and the key to soundproofing any room is to create a barrier between the noise source and the outside world. In other words, you need to block the sound from escaping the drum practice room.
Professionally Soundproofing Your Drum Room
The most effective way to reduce the noise of drum kits is to soundproof a practice room entirely by creating a room within a room. This is how professional recording studios are designed and built.
However, this can be challenging, time-consuming, and expensive. Many drummers underestimate what is actually required to professionally soundproof a drum room.
Effectively soundproofing drums in an existing room is like waterproofing. To contain the drum noise within a soundproof drum room, you will need to isolate all the walls, ceiling, and floor.
All weaknesses such as windows, doors and air vents need to be considered, as sound waves can travel through any openings very easily.
Making a drum room soundproof means building a room within a room for maximum sound isolation. Soundproofing a room is challenging because sound passes through all walls, windows, and other openings.
Furthermore, soundproofing materials can be expensive, and a good knowledge of construction and DIY is required.
Understandably, permanently soundproofing a room is not an ideal solution for those living in rented properties or those on a smaller budget.
How to Soundproof a Room for Drums Professionally
Building a room within a room is the most effective ways to soundproof a music studio, especially for drums. Here are the steps you will need to take to create a soundproof drumming studio.
Remember, soundproofing is not a one-size-fits-all solution. The effectiveness will depend on the quality of materials used and the precision of the construction. Therefore, it’s crucial to invest time in planning and installing each element carefully for the best results.
Step 1: Planning and Design
Plan your space carefully. Sketch a blueprint, considering factors like drum placement, equipment storage, and ventilation.
Measure the length, width, and height of the room using a measuring tape. These dimensions will guide you in cutting materials and building the frame.
You’ll also need to identify and seal any weak points. Inspect the room for any cracks or gaps that could let sound escape. Use an acoustic sealant to fill these gaps.
Step 2: Build the Frame
Construct a frame for the inner room using wood and metal studs, ensuring it’s independent from the existing walls, floor, and ceiling. The gap between the two sets of walls will act as a buffer zone for sound waves.
Begin with the floor. Depending on the size of your room, you may need to add more studs for support. These should be spaced about 16-24 inches apart. Cut additional studs to fit between the longer studs and attach them using screws or nails.
To prevent sound vibrations from traveling between the floor of the existing room and the new room, install sound isolation pads underneath the floor frame. These pads absorb vibrations and significantly reduce sound transmission.
Once the floor frame is built, you can proceed with building the wall frames using studs and drywall.
Step 3: Construct the Ceiling Frame
Lay two parallel studs on the floor, then place the other two studs at their ends to form a rectangle or square. Ensure the corners are square then screw or nail them together.
Lift the assembled frame and attach it to the top of your wall frames. Use screws or nails to secure it in place.
Install resilient channels or sound isolation clips on the studs before hanging the drywall. These create a ‘floating’ structure that reduces the transmission of sound vibrations.
Step 4: Fill with Insulation
Fill the gaps between the studs with soundproofing insulation. This material will absorb sound and prevent noise transmission between the inner and outer ceilings.
Step 5: Building Floating Walls and Ceiling
Install resilient channels or sound isolation clips on the studs before hanging the drywall. These create a ‘floating’ structure that reduces the transmission of sound vibrations.
Apply a layer of Green Glue compound between two layers of drywall or MDF for additional damping.
Step 6: Sealing Doors and Windows
Install a solid-core door and multi-pane windows for better soundproofing. Apply weatherstripping around them to prevent sound leakage.
Cheap Ways to Soundproof a Drum Room
If you don’t want to make any permanent changes to your home to create the ideal drum room, then there are some temporary and more cost-effective solutions you can use that will still give you good results.
Noise can still be reduced somewhat within your own studio without spending much money. This can be done mainly through “beefing up” existing walls, floors, and ceilings to dampen the sound.
Add Mass to Walls and Doors
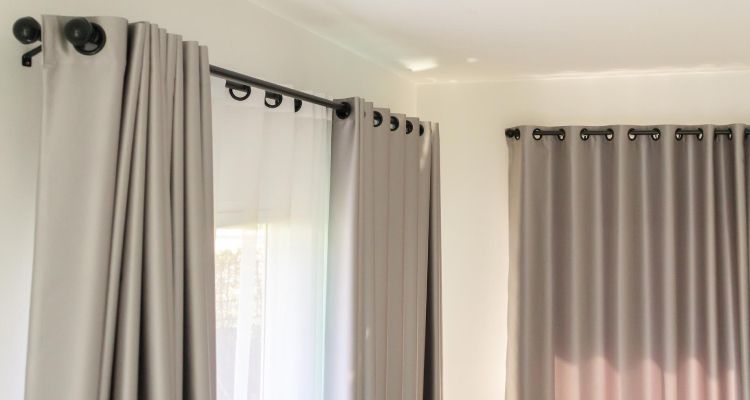
One of the most common ways to reduce noise in any room is by adding mass to walls and doors with acoustic treatment. The more mass, the better. This can be done by mounting acoustic panels or hanging heavy curtains or blankets on walls, doors, and windows.
Adding mass works because it will absorb sound vibrations preventing them from bouncing around the room.
It is a cheap and effective way to reduce noise and limit the amount of sound that bleeds into the rest of your home.
Adding acoustic wall panels is a popular technique you’ll frequently see in recording studios and drum rooms. These are usually made of foam or fiberglass and can be found at most music stores or bought online.
If you can, try to use furniture to your advantage. For example, chairs and sofas that are upholstered in fabrics like suede and microfiber can do wonders for sound absorption.
Thick curtains will also do a great job of blocking sound, especially when you have windows in your drumming practice space.
Bass traps are another option that can be placed in corners to absorb low-frequency sound waves.
Adding mass with these soft surfaces will not only be good for absorbing sound but will also help improve the sound in your drum room by reducing unwanted sound reflections.
Covering Floors and Ceilings
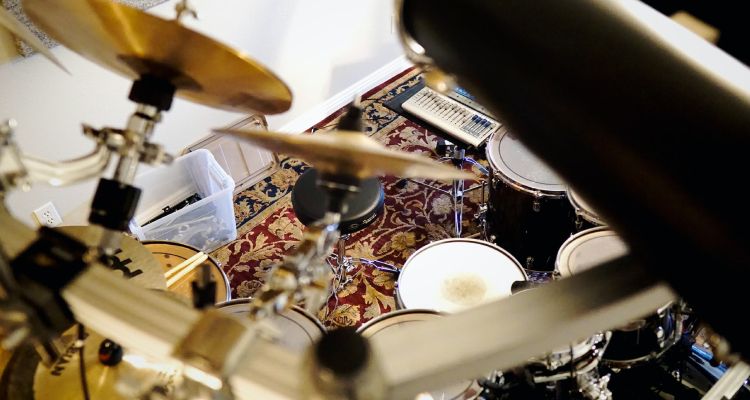
When soundproofing a drum room, it is important to cover the floor with soft materials. Hard surfaces, like hardwood floors, can reflect sound and make the noise louder.
Covering the floor with thick carpet, drum rugs, or other soft materials can help to reduce this sound reflection.
The floor is an especially big culprit when it comes to playing drums. This is because when you play the bass drum a lot of the impact noise and vibrations go through the floor. This will then travel through the floor and be amplified in other parts of your house.
Placing large area rugs over your hard floors can help to absorb some of this sound transmission and reduce reflections. You can also try completely isolating the drum kit from the floor by building a drum riser.
Ceilings can also be a significant problem in drum rooms. Another good way to prevent sound from your drum room is by adding soft materials to the ceiling. This will help to absorb any noise that travels upwards.
You can also add mass to your ceiling by attaching foam panels or hanging sound-absorbing baffles. These will help to reduce the noise that escapes through the ceiling and into the rest of your home.
Adding fiberglass insulation to the ceiling can be an effective way to soundproof a room. This is because fiberglass traps air pockets which help to reduce noise transmission.
Seal Any Open Gaps
Identify all of the potential sources of noise for sound leakage. This includes windows, doors, vents, electrical outlets, and any other openings that sound can travel through. Once you’ve identified all of the potential noise sources, you can begin to seal them off.
One of the weakest spots in any room regarding soundproofing is the door. Sound can easily escape through cracks and gaps around door frames, so it is important to make sure they are well sealed.
You can use Soundproofing Sealant to fill any gaps or cracks around doors and windows. This will help to seal the room and prevent any noise from escaping. There are a few other ways to seal off open gaps when soundproofing:
- Use weatherstripping or acoustic foam to fill in any cracks around the door.
- Install a door sweep to create a seal at the bottom of the door.
- Hang a door blanket or curtain to help absorb sound.
- Add mass to the door by mounting acoustic panels or using heavy curtains.
Other Methods To Reduce Noise From Your Drum Room
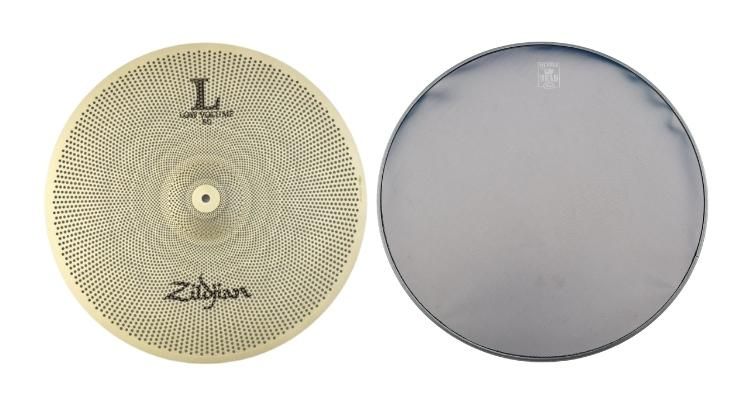
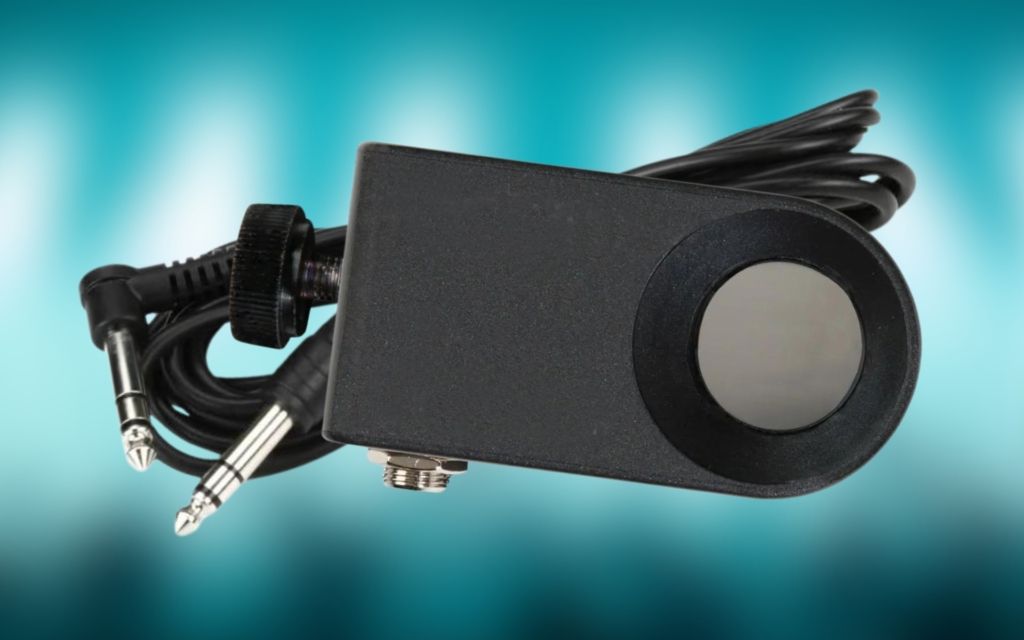
Utilize mesh drumheads and low-volume cymbals
There are various ways you can make a drum set quieter. If you have an acoustic drum set, you can install mesh practice heads and low-volume cymbals onto your kit, which offer an impressive noise reduction of up to 80-90%.
These inexpensive practice tools are placed directly onto the drum shells and cymbal stands to significantly reduce the drum set volume while still feeling great to play!
Or more simply, you can muffle the drums using everyday household tools such as towels and blankets on top of the drums.
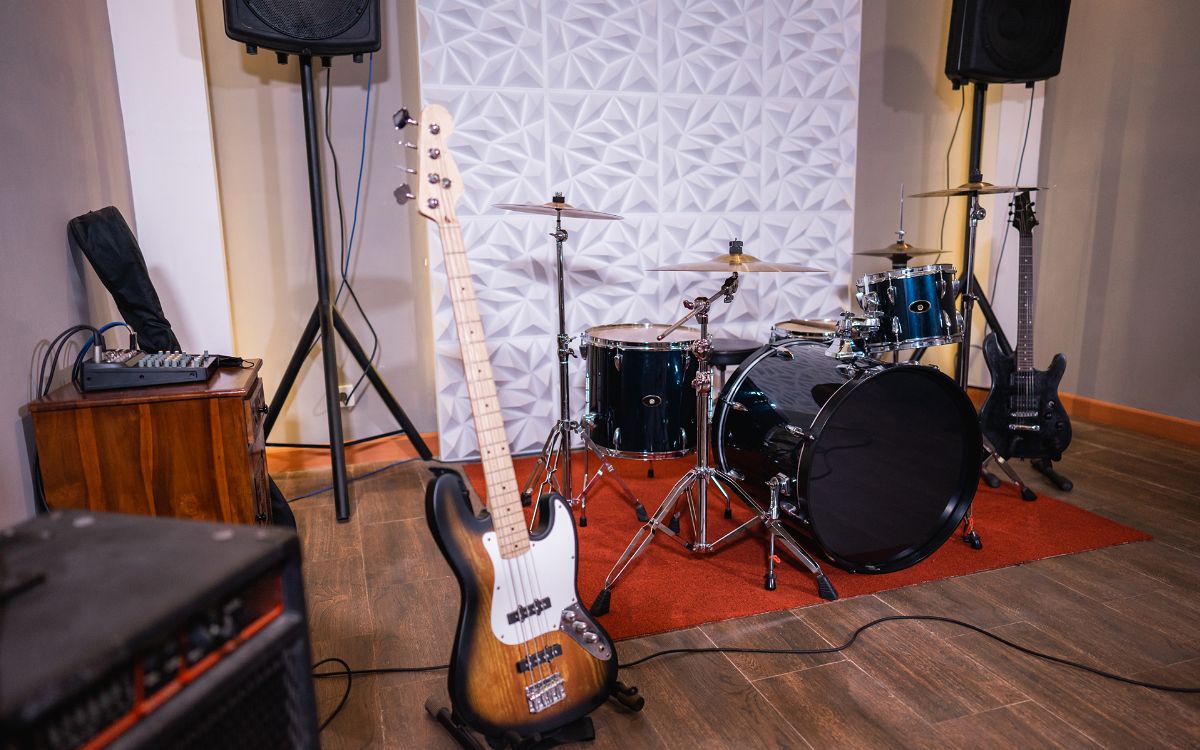
Invest in an electronic drum set
Electronic drums are excellent for practicing at home, and the latest electronic drums from Roland, Alesis, and Yamaha are of excellent quality, offering a realistic playing response and awesome sounds.
A high-quality electronic drum kit takes up less space, offers a much wider range of sounds, and is much quieter than an acoustic drum kit.
Therefore, they represent an effective solution for those looking to practice drums at home regularly without disturbing others.
Practice during reasonable hours
Finally, remember to be considerate of your neighbors and practice during reasonable hours. For example, avoid practicing late at night or early in the morning.
And if you know your neighbors will be home during certain hours, try to avoid practicing during those times.
Also, ensure that your practice space is as isolated as possible. If you have a separate room for practicing, that’s ideal. And try to practice in a room of your home that’s farthest away from your neighbors’ walls.
Final Thoughts
Whether you’re looking to completely soundproof your room or just take some measures to block out some noise from your acoustic drum kit, there are various steps you can do to help reduce the noise levels of your drum practice sessions.
The best way to make a soundproof room for drums is to use a combination of the methods described above.
By sealing any open gaps, adding mass to the walls and ceiling, and using soundproofing materials, you can create a drum room that is significantly quieter than without any treatment.
By following the tips in this article, you’ll now know how to soundproof a room for drums and enjoy a quieter and better-sounding space for your drumming without disturbing others.