If you’re ready to take your drumming to the next level, learning a few intermediate drum grooves is a natural step.
Once you get the hang of keeping consistent time and understanding basic subdivisions, there are plenty of new skills to learn.
In this guide, I’m going to show you 20 drum beats that will upgrade you from a beginner to intermediate drummer. You’ll need to learn a few techniques to be able to play them, but I’ll explain what those are as we go along.
Contents
16th Note Hi Hat Patterns
A key skill that all drummers should have is being able to play quick 16th notes with one hand on the hi-hat. You’ll find that your arms start to tense up when playing this kind of thing, so I’d recommend using more of your wrists.
I’d also recommend learning how to use the Moeller Technique, as that will make playing these drum grooves a lot easier.
Beat 1

Our first groove is a standard 16th note drum beat with busy rhythms on the hi-hat. With this one, you’re just going to focus on playing those hi-hat notes as evenly and steadily as possible.
Your bass drum is going to play on beats 1 and 3, and your snare drum will land on beats 2 and 4, creating a snare backbeat. Those are standard placements for a groove, which is why you can mostly just focus on perfecting your movements on the hi hats.
I recommend sticking with this groove until you can play it comfortably before moving on. Every drum beat after this one just builds on the idea.
Beat 2

We’re going to make things a bit trickier here by including an open hi-hat pattern. This groove will be mostly the same as the first one, but you’re going to lift your hi-hat foot on the “e” counts of beats 1 and 3 to create a barking hi-hat sound.
You’ll then need to press your foot down immediately afterward so that the hi-hat sounds distinct again. If you’re late with your foot, the hi-hat pattern will sound quite muddy.
Beat 3

For this groove we’re going to add a few ghost notes to create some dynamic variety. The first two ghost notes will come on the “e” and “and” counts of beat 1. You’ll play them again on the same counts for beat 3.
The key here is to make your ghost notes on the snare drum sound a lot quieter than the main backbeat notes on beat 2 and 4. The more of a difference there is with the volume, the better the groove will sound.
Beat 4

This next groove may look a bit easier, but it’s actually far more difficult than the previous one with ghost notes.
Your ghost note on the snare drum is going to land just before the main backbeat on beats 2 and 4. This means that you’ll need to play your snare drum two times in quick succession, but the first stroke should be much quieter than the second.
I’d recommend dropping your wrist for the initial ghost note and then lifting your arm to play the main backbeat stroke. That should give you the natural movement to create a good volume difference.
Beat 5

For this groove, you’re going to accent all of the “and” counts on the hi-hat. This creates quite a groovy drum beat that edges into the disco or hip-hop zone.
You’re also going to play two quick kick drum notes on beat 3 of the bar. Those sound really cool when they match the hi-hat 16ths.
Finally, you’ll add a few ghost notes to spice things up more.
Ghost Notes
We played a few ghost notes earlier, but we’re really going to focus on them in this next section. The hi-hat parts will be a bit easier, as we’ll only play eighth notes. This will allow you to really focus on nailing these different ghost note patterns.
Remember to keep the ghost notes as quiet as you can. Again, think of dropping your stick on the snare to play them instead of lifting it to strike the drumhead.
Beat 6

Here’s a really bouncy groove that I love to play. There’s going to be a bit of interplay between your bass drum and snare drum, with the snare drum ghost notes really adding a good amount of depth to the beat.
The first two ghost notes will come on the “e” and “and” counts of beat 1. You’ll then play a single ghost note on the “a” count of beat 2. Your final ghost note will be on the “a” count of beat 4.
Beat 7

For this groove, the ghost notes will be on the “e” count on beats 1 and 3. They’ll also be on the “a” count on beat 2 and 4. You’ll then add a few kick drum notes to make it a bit more exciting.
This is a very straightforward rock groove, so it really sounds fantastic when you play it loud and boldly. Just make sure you’re keeping the ghost notes on the snare quieter than everything else you play.
Beat 8

Now, we’re going to play the same sort of thing that we played back on beat 5. The ghost note will come just after the backbeat each time. However, we’re also going to add more ghost notes to the groove to offer a bit more depth with the sound.
This is definitely the trickiest groove we’ve looked at so far. However, beats 3 and 4 have the same rhythms and sounds of beats 1 and 2, so you only need to learn half of the groove to know how to play the whole thing.
Beat 9

You’ll mostly play 16th notes in this groove, but you’ll leave a bit of space to make room for the ghost notes on the snare drum. So, you’ll alternate your hands around the kit instead of just playing all of the hi-hat notes with a single hand.
This is another great hip-hop sounding groove. The main feel comes from the bass drum notes landing on the “and” count of beat 2 and the second two 16th counts of beat 3. The hi-hat and ghosts just fill in to make it sound a bit groovier.
Beat 10

This beat has a similar pattern to the previous one, but you’re going to play both hands on the snare the entire time. This is an incredibly common drumming pattern, so it’s important to learn!
Again, you’re just going to fill the bar with ghost notes and then play accented notes on beat 2 and 4 with your right hand. There are also a few bass drum notes to make it sound like a distinct groove.
Quick Bass Drum Rhythms
Bass drum speed is the next area to focus on. The better your bass drum technique is, the easier these grooves will be to play. They all center around playing quick doubles with a single pedal.
I love playing grooves like this, so I’m sure you will too.
Beat 11

Here is one of the most important grooves to play to develop your double bass note ability. You’re going to play two quick bass drums before every backbeat, and those notes will be played as triplets.
Since they’re played as triplets, they’re slow enough for you to really focus on nailing the technique. Both the heel-toe and slide techniques will work well for this. When you speed it up, make sure that those two kicks sound as clean as possible.
Beat 12

This groove has the same idea as the previous one, but you’re going to play the kick drum notes as 32nd notes instead of triplets. This means that they’ll be much faster. They’ll also have more of a straight sound.
The key is to make the two bass drum notes sound as natural as possible before landing the main backbeat on beats 2 and 4.
Beat 13

The bass drum rhythm in this groove is a common one that drummers play with samba patterns. While I’m not showing you any Latin drumming here, this particular pattern works wonders when developing your foot speed.
So, you’re going to play it while jamming out a straight 4/4 rock rhythm with your hands on the snare and hi-hat. It will start sounding really great at higher tempos.
Beat 14

This groove is going to have two key features. The first is a quick double kick burst on “and” count of beat 1. The second is a displaced snare drum stroke on the “e” count of beat 2.
These two concepts work really well together, creating a syncopated drum beat that sounds impressive.
Flams
A flam is when you play both hands on the snare at the same time, but one stick strikes the head just before the other. This gives you a dense and slightly delayed sound, which is a great effect to use on the drums.
All the grooves in this section will have you playing flams on the snare drum. You can choose which hand to play first for a flam, but I’d recommend playing them both ways so that you get used to how it feels.
Beat 15

Here’s a basic rock groove with eighth notes on the hi-hat. You’ll play your bass drum on beat 1 and 3 and your snare drum on beat 2 and 4.
However, you’re going to play a flam every time you strike the snare drum. The beat sounds incredibly powerful, showing how much flams can change the dynamics of a groove.
Beat 16

Here’s an incredibly common tom building groove that you can use in styles like rock, metal, and worship. You’re going to keep the idea of playing flams on the backbeat going, but you’re going to fill in the rest of the grooves with tom strokes around the kit.
You’ll then play your kick drum in between all of those notes to keep a consistent sound going.
Beat 17

Our final flam groove is a really fun one. You’re going to play three notes on the hi-hat at the beginning, but you’ll open the hats on the last one. You’ll then play a flam on beat 2, followed by two hi-hats and then a floor tom.
You’ll do the same thing for the second half of the bar, but you’ll play a snare at the end instead of a floor tom.
Shuffles
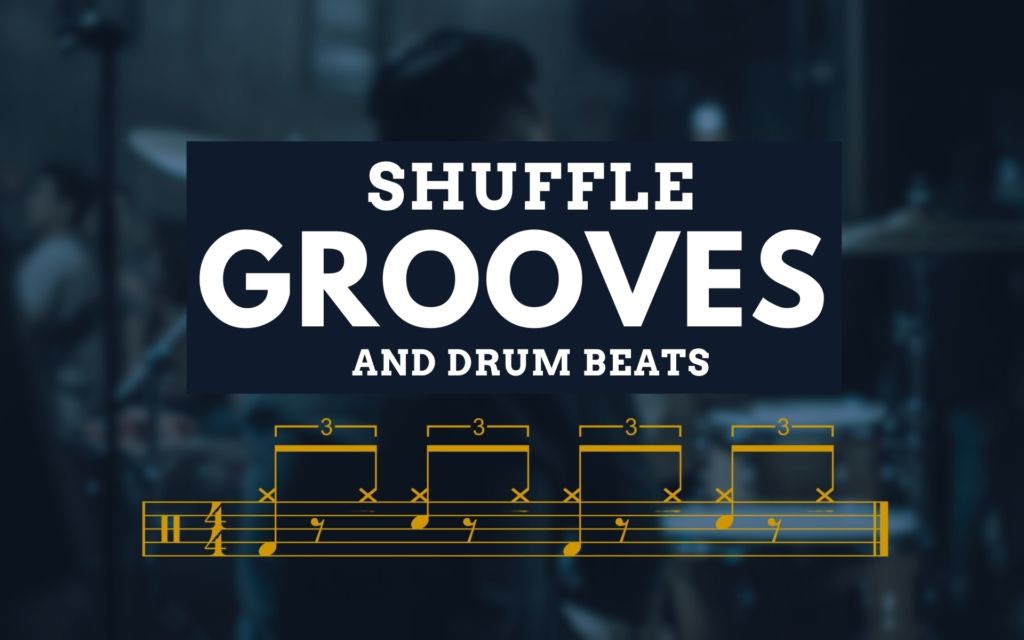
Finally, we’re going to look at a few shuffle grooves. For a shuffle, you’re going to swing your hi-hat pattern, creating a more syncopated sound. These types of grooves can feel quite tricky when you speed them up!
Beat 18

This is what is known as a straightforward shuffle. With the backbeat on beats 2 and 4, you get a vibrant groove that works really well in country and blues settings.
I’d say the trickiest part here is keeping your hi-hat notes sounding very consistent. Just make sure to really solidify this groove before moving onto the next few.
Beat 19

Now, we’re going to turn the beat into a half-time shuffle. In the current drumming world, half-time shuffles are arguably more popular than regular shuffles, as everyone loves hearing them.
Instead of playing snare notes on beat 2 and 4, you’re just going to play one snare note on beat 3. That will turn the groove into half time.
Beat 20

To make a half-time shuffle sound a lot more interesting, you need to add ghost notes to the mix. This particular groove includes that ghost note straight after the backbeat that we looked at earlier, so you should be able to play it here.
Here’s a fun fact about this groove – it’s commonly known as The Purdie Shuffle. Bernard Purdie was the drummer who made it famous.
Conclusion
Remember to practice all of these drum beats with a metronome. Start by playing them slowly, and then you can gradually increase the tempo as you get more comfortable with each pattern.
If you can confidently play every drum groove that I listed, I think you can comfortably say that you’re an intermediate drummer!
The next step would be to play these grooves within songs that you like.


