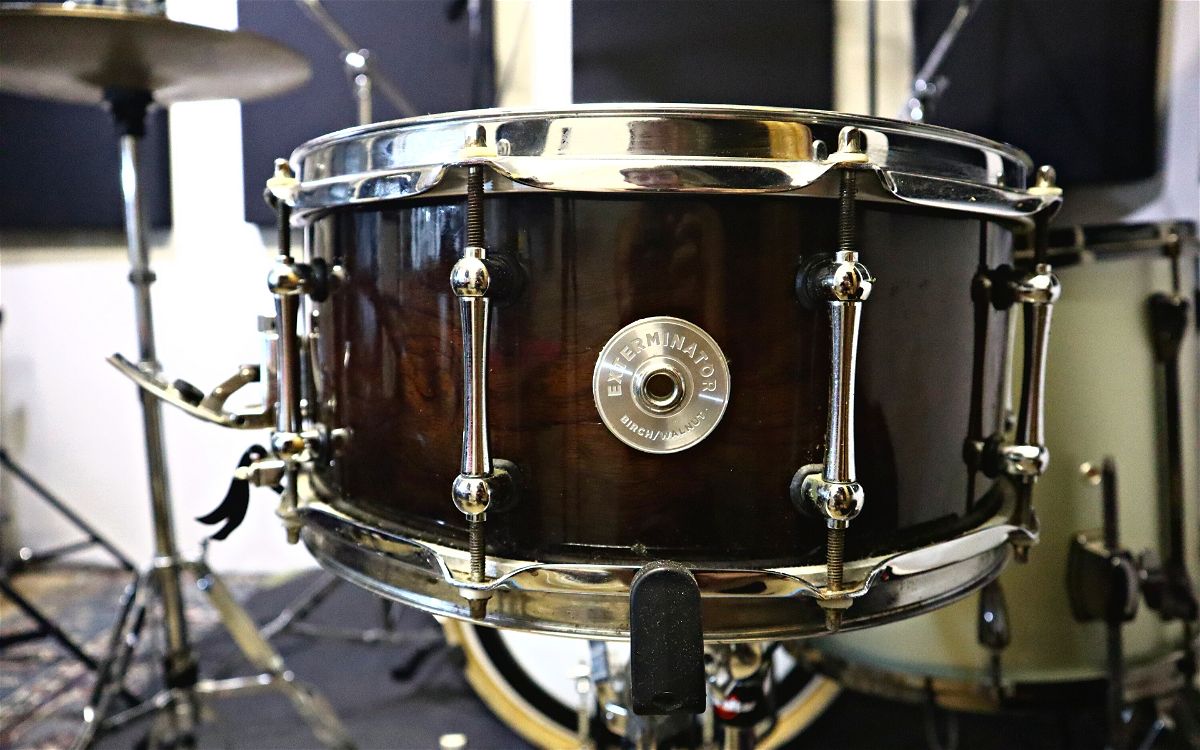
When it comes to drum anatomy, the snare drum is undoubtedly the complex piece of gear in a drum kit when comparing it to toms and bass drums. There are many components to understand, and a lot of drummers go years without knowing how they all work together.
Here’s a quick guide for everyone unsure of what the anatomy of a snare drum looks like. I’ll take you through all the parts of a snare drum, and I’ll briefly explain what function each part has.
Contents
Shell
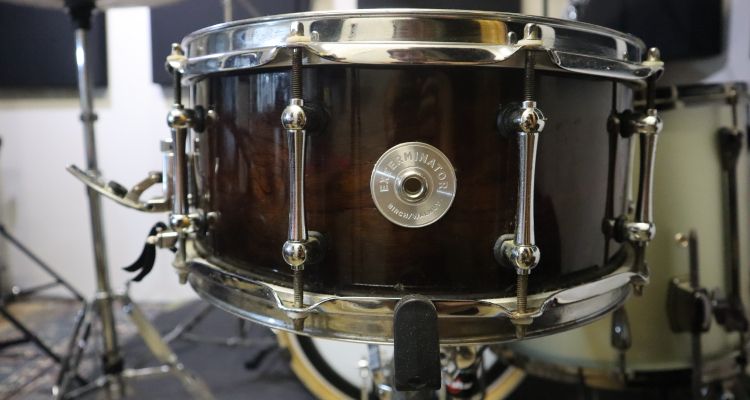
The shell refers to the body of a snare. It’s the biggest component, and it’s also the largest contributor to how the snare drum sounds.
Shells can be made from various woods or metals. Common woods used are maple, poplar, mahogany, birch, and oak. Popular metals used for snare drum shells are steel, brass, aluminum, and copper.
You won’t commonly find metal shells for other drums, but they’re very popular with snare drums.
Snare drum shell diameters range from 10” to 14”, and their depths range from 3” to 10”.
The snare also has bearing edges cut onto the top and bottom of the shell, which is where the drumheads rest. You’ll see them most clearly when you remove the drumheads and metal hoops.
Bearing edges affect the resonance and timbre of drums. The angle of the bearing edge determines how much contact there is between the shell and the drumhead, in turn affecting the sound quality produced.
Counterhoops
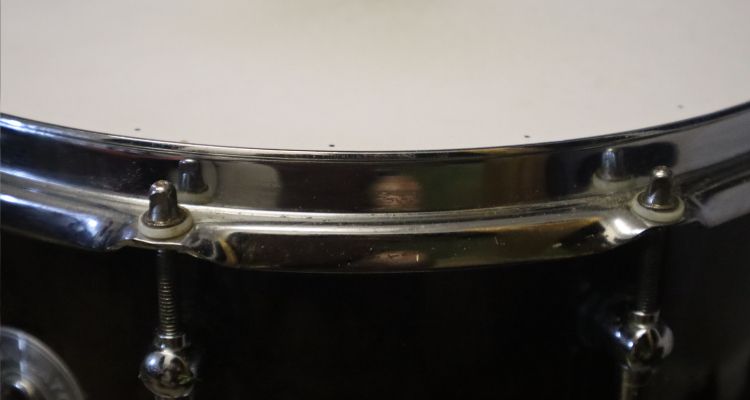
Counterhoops are the next important parts of a snare drum. Every snare will have one on the top and one on the bottom.
The counterhoops keep the drumheads secured to the snare, and they play a large role in establishing the tuning of the drum.
Triple-flanged and die-cast hoops are the most popular types used, with die-cast hoops only coming equipped on higher-end snare drums. Those cause the snare to produce a louder sound when playing rimshots.
All counter hoops have holes around them to thread the tension rods through. Some have 8 holes, while others have 10.
Tension Rods and Lugs
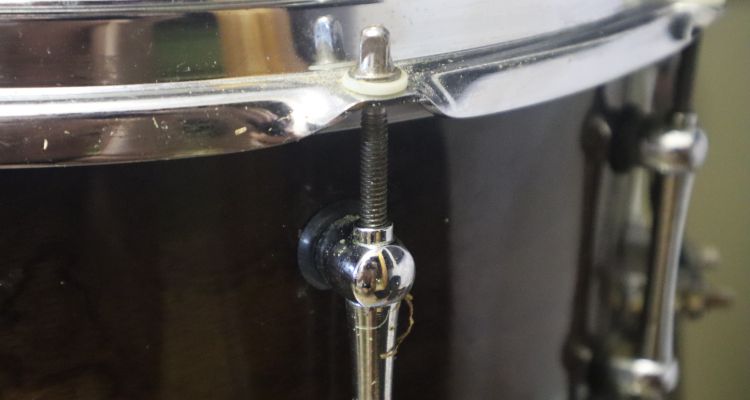
Lugs and tension rods go hand-in-hand with the counterhoops. These two often get mistaken for each other, but they’re distinctly separate parts of the snare drum.
The tension rods are the screws that can be removed from the snare. You loosen them so you can pull the counterhoops off and swap the drumheads out. The tighter they are, the higher-pitched the snare drum sound will be.
The lugs are the casings that are permanently attached to the snare shell. These are where the tension rods screw into.
Different drum brands have unique lug designs. A good example would be DW, as you can easily identify a DW snare drum by its round turret lugs.
Throw Off
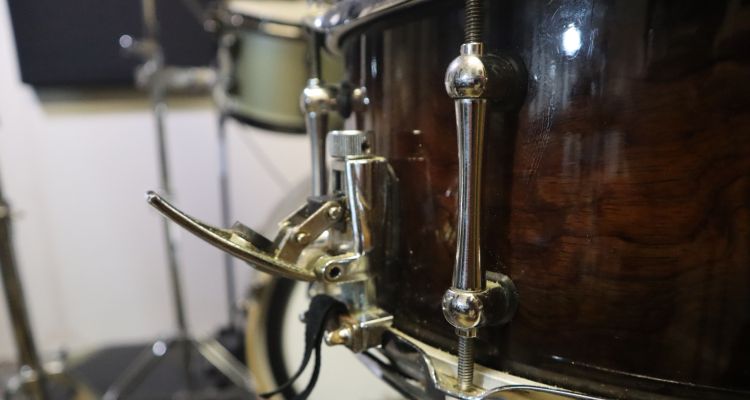
The throw-off is the lever that you’ll find on the side of every snare drum. It’s often referred to as a snare strainer as well. It controls how the snare wires touch the snare drum bottom.
Every throw-off also has a tension screw that controls how tightly the wires are pulled. With a loose tension, a snare drum will sound very slappy and resonant. With a tight tension, you’ll get quick tones and responses from those wires.
Some snares have throw-off levers that move sideways, while others have ones that go forwards and backward.
Snare Wires
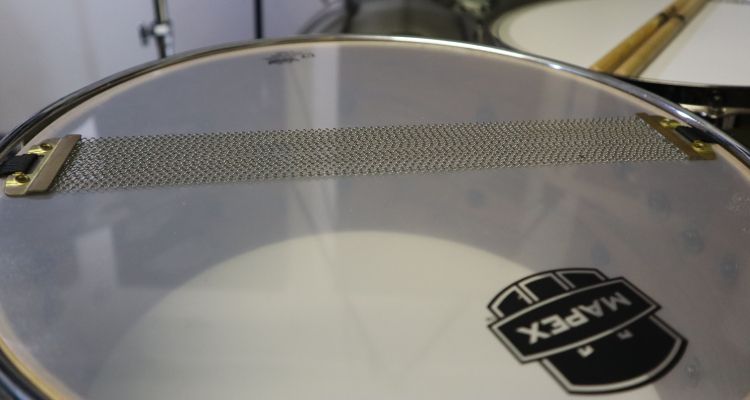
The snare wires are a group of metal wires that are positioned at the bottom drumhead of a snare drum. These wires are the primary reason for a snare drum sounding like a snare drum.
The amount of sensitivity a snare drum has largely depends on how many wires are here. Some groups have 20 stands, while others have up to 42.
When the snare strainer is turned off, these wires hang loose beneath the head without touching it. When the strainer is turned on, the wires strap against the head.
Butt Plate
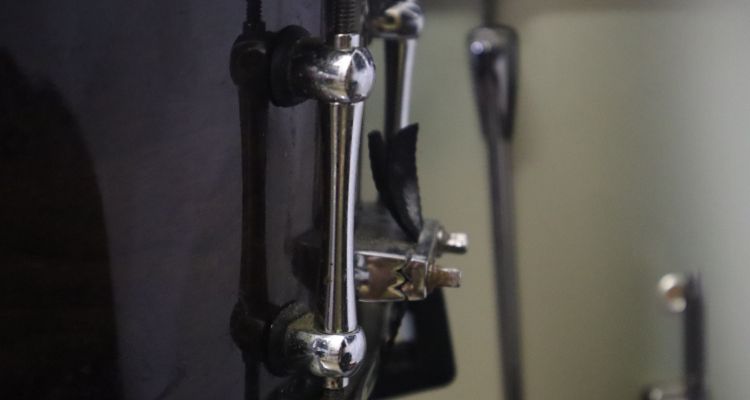
The butt plate is placed on the opposite side of the throw-off. It’s the part of the snare drum that holds the other end of the snare wires in place.
While the throw-off will change from engaged to disengaged, the butt plate will always act as an anchor for those snare drum wires.
Most butt plates don’t offer any moveability, but some on high-end snares allow you to adjust the snare wire tensions from there as well as the strainer.
Batter Head
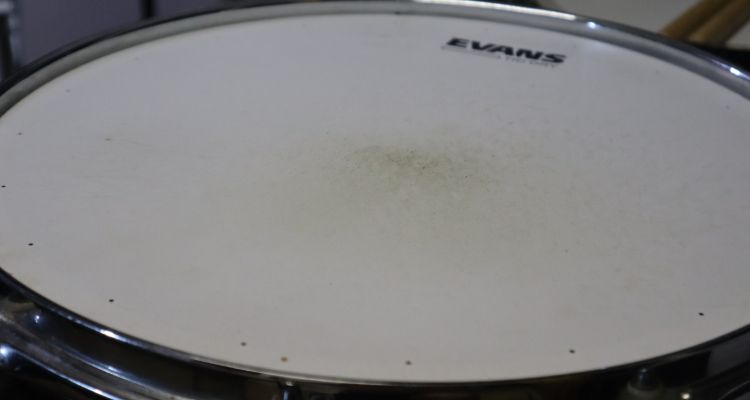
The batter head is the drumhead that gets placed on the top part of the snare drum. It’s the drumhead that you strike with each drum stick, which is what gives it its name.
There are various types of batter heads available for all drums, but there tend to be more options for snare drums specifically.
Thin batter heads are referred to as one-ply heads, while thicker ones are called two-ply heads. Thinner ones bring out more tonal richness from the snare, but thicker ones make it easier to control the tones.
Resonant Head
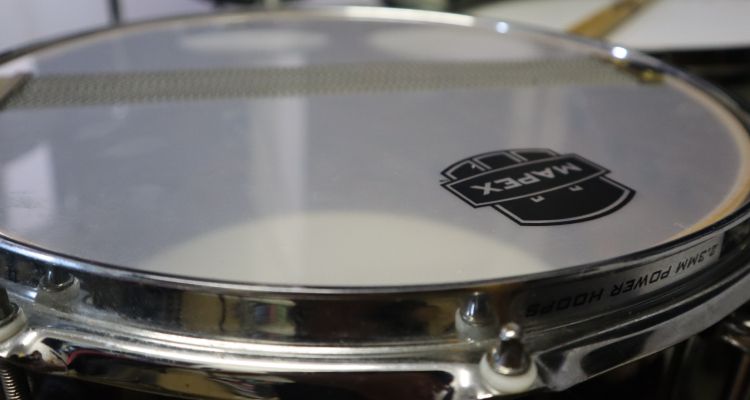
Resonant heads go on the bottom side of the snare drum. However, you can’t use any typical drum head here. You need to use a snare side head that has been specifically designed for snare drums.
Resonant heads that go on toms are too thick to work nicely on a snare drum. You need to have a very thin drumhead so that the snare wires interact with it as well as possible.
Air Holes
Air holes are placed on every snare drum shell. They allow the vibrations to escape every time you hit the snare drum, and that’s something that plays a big part in establishing all the tones that you hear.
If a snare were to have no vent holes, it would sound seriously choked.
Badge
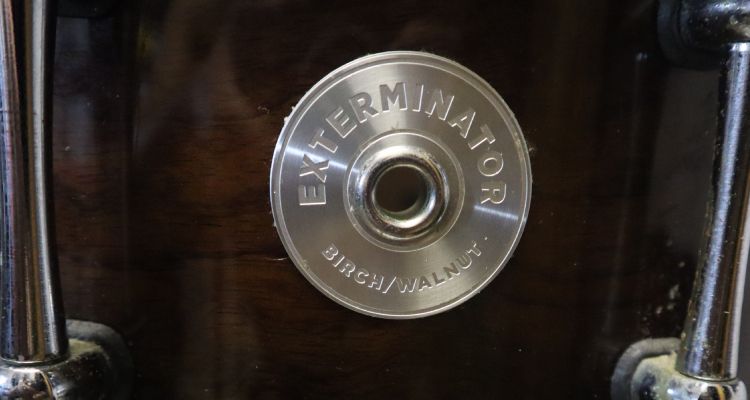
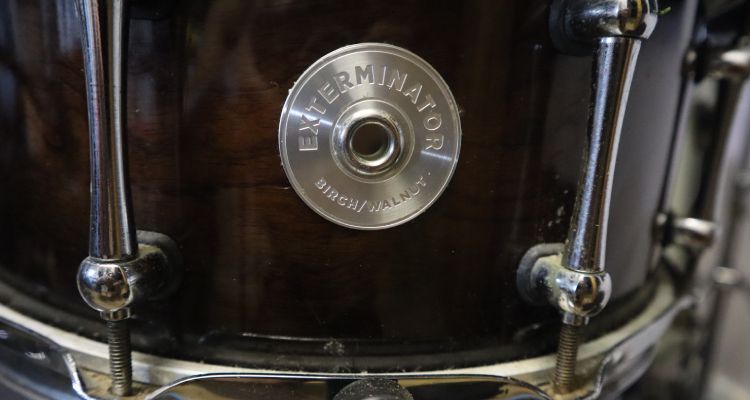
The badge is the final component to know about on a snare drum. It’s the part that identifies the snare, letting you know what brand it’s from, what its serial number is, and what model it is.
Badges don’t hold too much value with newer snares, but they’re so important to drummers who are into vintage drums. You can look at most badges to find out what era old snares are from.
When looking at a full drum kit, it’s normally the bass drum that has this information.
Conclusion
The best thing about snare drums having so many parts is that you can easily replace most of them. If your snare is starting to show some age, you can easily just refurbish it with a few fresh snare parts.
It’s great to know all these names so that you can identify what to look for when buying a snare for your drum set. The tone is the main thing, but all these components work together to create that tone.
If you’re looking at electronic drums, you don’t need to worry about all these components.

